You may go on a trip and take lots of photos from your phone. Later, you may want to review where you took the photos so that you can share this information with others.
Manually importing photos would be unnecessary work. Actually, it was a hassle, which is why we created a bulk photo uploader. This requires that you have a google email account because all photos are saved to your google+ account.
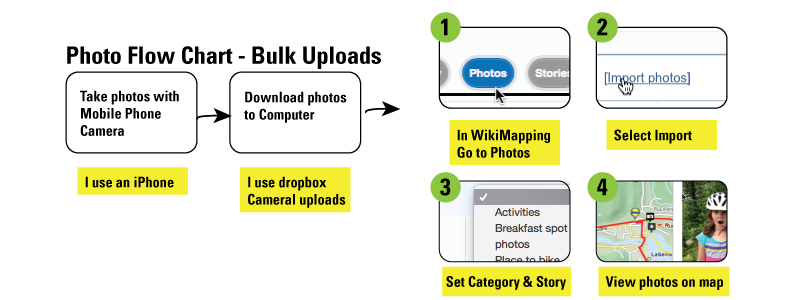
Go to Photos: Import Photo
- Set a category, and set the story
- Drag all of the photos you want from your computer onto the “Upload a Photo” button
Edit photos descriptions
After the photos are uploaded, you can add descriptions and tag them in a tabular layout, or you can add descriptions directly from the WikiMapping project.
In the WikiMapping Project
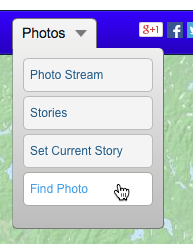
You will see a photos menu that looks like this:
Photo Stream shows you all of the photos, one at a time.
Stories, lets you select a story.
Set Current Story is used if you are uploading a photo directly into the project
Find Photo lets you search for words in the description of the photo.
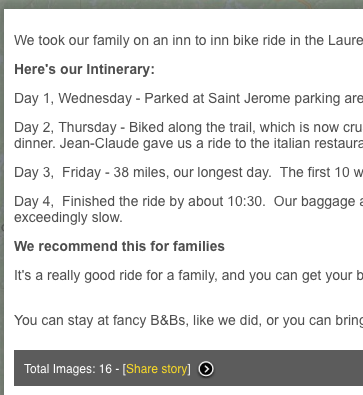
A story can begin with an intro that looks something like this:
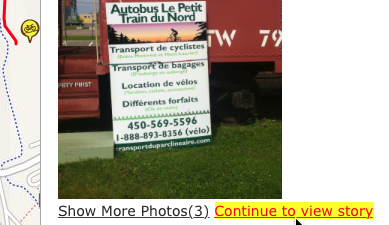
As you navigate through the photos, you can select “Go to feature”, and this will center a dialog box to the right of the feature.

To return to the story, select “Continue to View Story”.
You’ll be glad to have photos on your map
So, when you need to show people where a photo was taken, it may be as easy as going to the wikimapping site and selecting a story.


