Overview
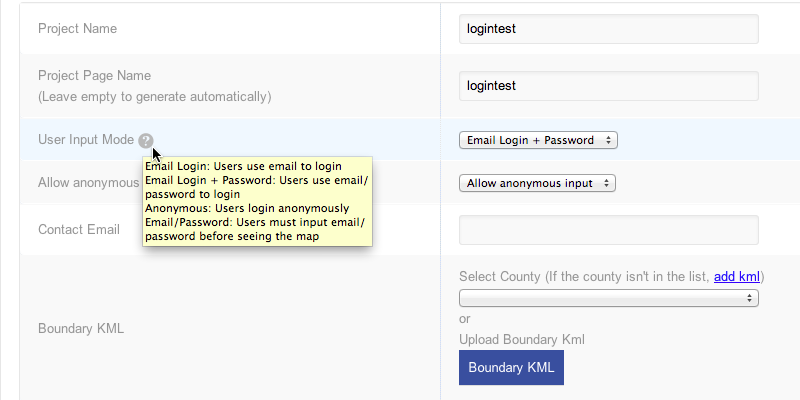
Get information about each option below.
Page Name is name of your project that shows up in the banner.
Project Page Name is part of the url. If the project name is taken already, then a number will be added to the end.
For example: If there is already a project named “project”, the new project might be “project1”.
The url for “project” would be: wikimapping.com/wikimap/project.html
Tip – If you close a project to the public but still want your project team to access it, then just append the Project Page Name with something like “-Closed”.
Email Login – This is a simple login that requests an email and user name. It lets you stay in touch with users and is easy for them to remember. It also makes commenting a bit easier.
Anonymous – This doesn’t require that people login. But if you want people to comment, you need to select “Allow Anonymous Input” further down in Edit Project.
Email/Password – For this, the project administrator has to add email addresses to the list of users. Then the users can sign in and request a password.
Tip – You can change the mode even after a project is set up.
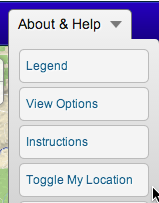
In the “About/Help” menu, users will see an option to “Contact Project Team”. The email entered here is associated with that menu item.
If you don’t enter an email, it defaults to the project admin’s email.
Speaking of emails… If you are trying to reach us, mapteam@wikimapping.net and mapteam@wikimapping.com both go to the same place.
When we first set up WikiMapping, we thought it would be nice to upload a boundary. You probably want to skip the “Select County” option. The Upload Boundary Kml can be useful for uploading a KMZ with more than just boundaries.
If you want your boundary to show up in the legend, then you can just import the boundary as a “route category” and set that category to “admin only”.
Speaking of which, we use the term line and route interchangeably.
When you press the “Locate on the map”, button, you will see a popup window that lets you search for a location and set the zoom level.
If you don’t set the center, your map will center on Columbia, Maryland. If you’ve ever been to Columbia, you’ll recognize the irony of this. Columbia is a very interesting planned community.
“Why WikiMapping?” You might ask. It captures the concept of people crowdsourcing information that is important to them. As a project administrator, you have some control of the functionality we implement.
When someone comes to your page, they will see some welcome text. This is a bit like a blog editor, and you can add your logos or other graphics.
Some people like to let their users know about browser support, and they use text such as:
**Please note that this application functions best in the following browsers: Chrome, Mozilla Firefox, Safari, Internet Explorer 7+ and Opera. For Internet Explorer, please make sure that your security is set no higher than Medium-High.
Mauricio Hernandez came up with this text for the Cleveland Bike Share project.
The banner can contain a project graphic. Banners don’t show up on mobile devices smaller than an iPad. It makes those devices more usable.
Suggested Dimensions: You might try using an image of 1200 x 150 px to start. When placing this in Edit Project, consider change the static dimensions from pixels to 100%
Tip – you can add links in the banner.
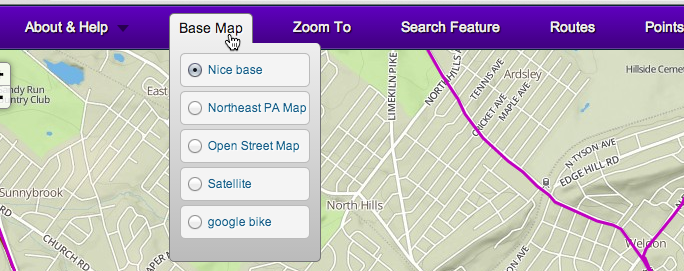
The simple choice is google maps or Open Street Map, map or bike. But please read on.
The default for Open Street Map is MapQuest’s Open Street Map. We recommend using the Open Street Map option instead of google maps because you can create and link to beautiful base maps using Mapbox.com.
Map tiles – A web map is made up of map tiles that are projected in Web Mercator projection, and a slippy name system that allows you to organize them. You can host these map tiles on your own server and link to them.
E.g. http://a.tile.openstreetmap.org/{z}/{x}/{y}.png or use mapbox: http://a.tiles.mapbox.com/v3/YOUR-PROJECT-ID/{z}/{x}/{y}.png
“Upload your own” – This option uploads zipped tiles to WikiMapping. This may become a premium feature.
Tip – Programs that we use to create map tiles include Avenza MAPublisher plugin for Adobe Illustrator, Global Mapper, ArcGIS, QGIS (free and excellent), and Tile Mill (free, flexible, and has a learning curve).
This lets you customize your menu with a two color gradient. You’ll be able to use a color picker.
Map background color sets the background. This doesn’t need to be changed.
If you want to track visitors to your page, you can use http://www.google.com/analytics/. Google Analytics gives you a code, and you can place your code into your page.
A code looks like this: UA-19699825-2
Tip: You can get basic statistics from on the Comments page.
With this option, a user will not see everyone else’s data unless they go to “View Options”. In “View Options”, data that other people have entered can be turned on. Users will see data that the project administrator has imported.
- Disable – When users visit your project, they will see all comments
- Enable – When users visit, they will not see all comments unless they turn them on in View Options
- Enable + Not allow to turn on – Users add data, but can’t see data others have entered.
In all cases,if you log into the project as a Project Administrator, you can see all user data.
Tip: As a premium option, you can let users choose to keep their data private.
Close Registration prohibits new users from registering. Current users can access the WikiMapping project.
Use this option while setting up a project if you want to limit who can use the project. You can add users manually, or let people register and then close the registration to others.
Even if you close registration, registered users can still input. This is why there is a Close Input option.
This creates a menu option called “Find Location”. A user will see a search box and map that they can use to find a location.
The nice thing about having the search box is that a user can find a location without actually leaving their current location on the map.
The “Set Center” button will center the project on a location. If the base map is set to google, google is used to find a direction. If it is set to Open Street Map, then MapQuest and OSM are used.
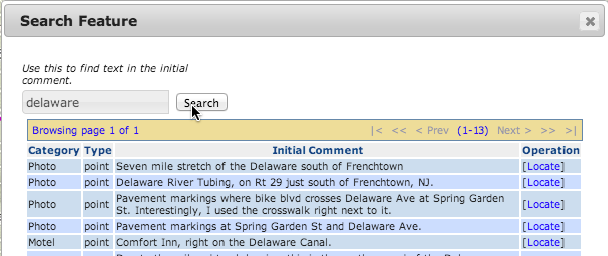
Tip: As a premium feature, there is the ability to search comments directly on the WikiMapping project.
This option uses a person’s Facebook id and email to login. Facebook collects more data than we use. And personally, we think it is easier just to register using WikiMapping.
This functionality can now be controlled for individual points or lines in categories.
Having agree/disagree should be so simple. As soon as a user registers a preference, it is recorded. The user can continue with other options in a dialog box or just close it.
The results of Agree/Disagree are recorded in Comments.
When selected, user will be able to add a photo and comment when placing a point.
If you want someone to import a photo as part of a survey, there is a survey field. Photos in surveys do not have as many view options for other users.
If a user (or project admin) uploads photos, then a set of photos can be compiled into a story that has an intro like a blog post.
If you have a few hundred photos in a project, story is a nice way to highlight and share just a few.
.
Users give you permission to get project updates. By request, the Map Team can send out an email list to a project administrator.
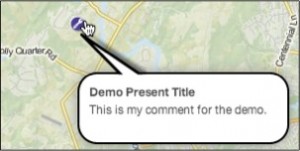 When selected, your project has the functionality to display balloon dialog boxes upon mouseover. The dialog preferences are set when you are editing point and line categories:
Present Title
Present FieldTip: There’s also a Present Data button in the menu to let you view data fields for an imported KML or Shapefile.
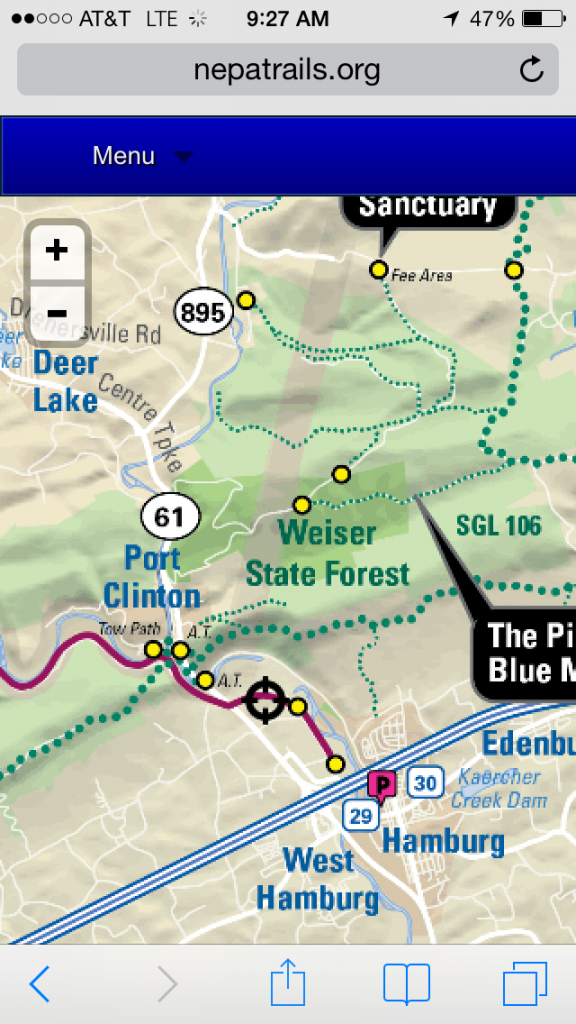
“I’m here” is a menu option that uses the browser’s geographic location to show a user’s location. A web browser will ask users if they wish to share their location.
Disable I’m Here removes this functionality.
Tip: As a premium option, we can show someone’s location on the map as they move around.
Like a project administrator can email data from the Comments menu option, this option lets user email project kml data to themselves.
This may not a good option for your audience. Many people see xml code and think it is a bug or something worse that they want to get off of their computer as fast as possible.
That said, it’s very handy if you want to share some data with an audience you are familiar with.
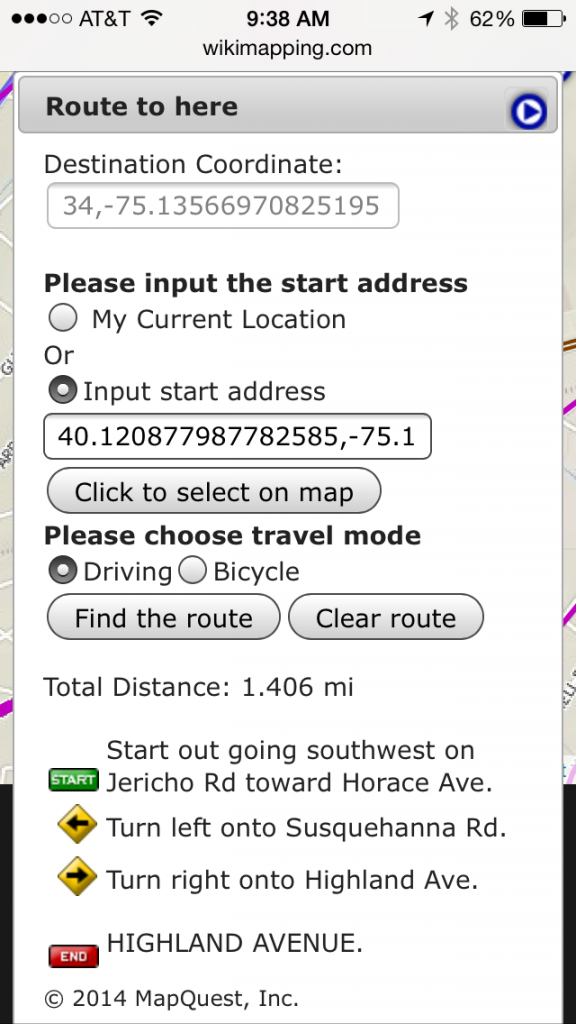
This option will create custom turn by turn directions used with the East Coast Greenway iOS and Android App (that aren’t in the app stores yet). It will add a menu option for users that lets them choose routing. It corresponds to category options.
Point Category, Edit-Mode: Normal, Intersection, photo upload.
Route Category, Edit-Mode: Normal, Route
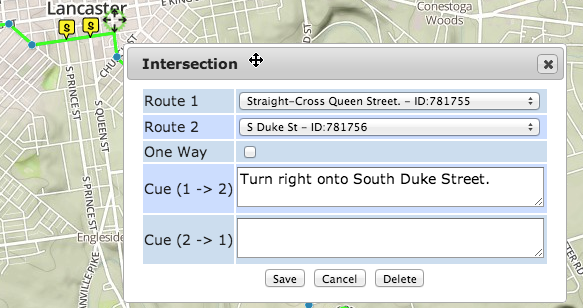
How it works – First create line segments from turn to turn that make up the route. Then connect the segments using an intersection point category.
Before using this, you need to create a login survey. Typically this would let users tell you about themselves in a way that relates to your project. This could be age, zipcode, attitudes towards something, sex, ethnicity, etc.
When using a survey, users will first see a Welcome, followed by the register dialog.
This will be followed by the Welcome – Survey.
This allows you to customize “Routes” and “Points”.
Here’s an example:

Can be changed to this:

Important: We are planning our menu designer and are open to suggestions you may want to offer.
Some organizations have a lot of planners using many WikiMapping projects. They need billing codes so that invoices can be assigned to projects they are working on. Think of it as space for a note to yourself.
This is for your convenience so that you know when you are starting work on a project. We track project activation dates internally.
Some project administrators have so many projects that the project pull-down menu can get very long. You can always select “Projects” to see a page with all of your projects.
Use a negative number to hide a project from the menu. Otherwise, you can order your projects. A higher number show up above a lower number.
Premium features that can be added to Edit Project
When enabled, this adds a menu item and gives a user time to set up the page view for printing.
Tip: This is a feature that we will be developing further. It has a lot of potential.
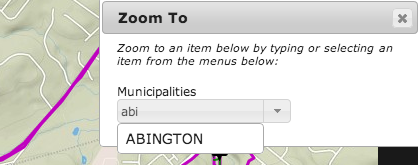
Jump To, also known as Zoom To, enables a user to select a point or area on the map to focus on. As the user types in text, the list shortens. It is particularly useful for a state-wide project where people need to find a particular county or municipality.
A project administrator can set up multiple Jump categories to zoom to.
Note: This feature was developed for use on the Minnesota Bicycle Plan at the request of Antonio Rosell, of Community Design Group, who is expert in community engagement. When an organization funds a feature, we reserve the right to use the feature as part of WikiMapping. By funding a feature, you are paying for prioritized implementation. There are competitive advantages to having functionality that others don’t have immediate access to.
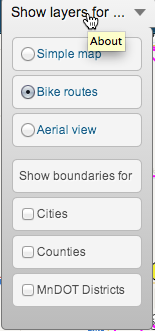
Allow Layer works well with Jump To/Zoom To. You can turn on and off multiple layers of raster or vector base data, and you can Zoom to individual features on the vector layers. For example, the Minnesota Statewide Bicycle Plan needed layers for Districts, Counties, and Municipalities.
A project administrator can set up multiple layer categories.
Note: This feature was developed for use on the Minnesota Bicycle Plan at the request of Antonio Rosell, of Community Design Group, who is expert in community engagement. When an organization funds a feature, we reserve the right to use the feature as part of WikiMapping. By funding a feature, you are paying for prioritized implementation. There are competitive advantages to having functionality that others don’t have immediate access to.
WikiMapping has a unique routing algorithm that lets a user create turn by turn directions. Then, others can use those directions to follow as they bike, from the East Coast Greenway App (which speaks the directions), or to print out directions.
This is used for creating cue sheets, and it adds functionality to point and line categories.
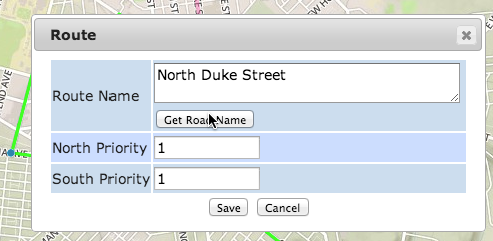
When setting up your route using, this is what it looks like.
Route – Allows you to draw a route
Point – Enables you to join the route with a turn.
If you want your domain to be something other than WikiMapping, this lets you point your project to that domain name:
Set your domain’s A record to 64.207.155.187
For example: nepatrails.org
Tip – There is a significant price for this feature, and it generally involves a custom project.
This lets a person set the lat/lng coordinates of a point by typing them into the Initial Comment.
Tip – This one doesn’t actually show up as an option in the Edit Project. We can activate it for you.


